Editing X3D
Keywords:
tutorial,
X3D,
VRML,
edit
Author(s): Yvonne Jung
Date: 2010-02-09
Summary: This tutorial shows you how to edit an X3D scene in XML and VRML encoding.
Introduction
If your goal is to create non-interactive 3D content, perhaps with some simple animations, that shall be used e.g. for a product visualization - and you are not interested in the creation of an interactive 3D world - you should use a 3D modeling tool like 3dsMax (for which we also provide an X3D/ H-Anim exporter), Cinema4D or Maya, to name just a few. But for creating interactive content or some special effects you need to directly write X3D code.
XML encoding
Writing X3D code is more or less like editing a web page in HTML. X3D in XML encoding can be edited with any text-editor, but it is helpful to use one that provides XML syntax highlighting such as SciTE, Notepad++, kwrite, vim and so on. But as these editors are not specialized on the X3D dialect, there is neither code completion nor do they provide syntax highlighting for embedded scripts within a Script node etc. Alternatively you can use the X3D-Edit Authoring Tool, which can be found for download here. But please note, that Instant Reality specific node extensions are not supported in X3D-Edit.
VRML encoding
People who prefer using the classic VRML encoding or who miss advanced syntax highlighting and code completion, definitely should use VrmlPad, a nice editing tool from Parallel Graphics (a screenshot is shown below). A trial version can be downloaded here. Although this tool is a Windows application, you can easily run it in wine for usage on Unix/ Linux systems.
But please note, that your files should end with *.wrl instead of *.x3dv, and that you should use the following old style VRML header for activating correct syntax highlighting (which by the way makes no difference when loading the file with Instant Player): #VRML V2.0 utf8
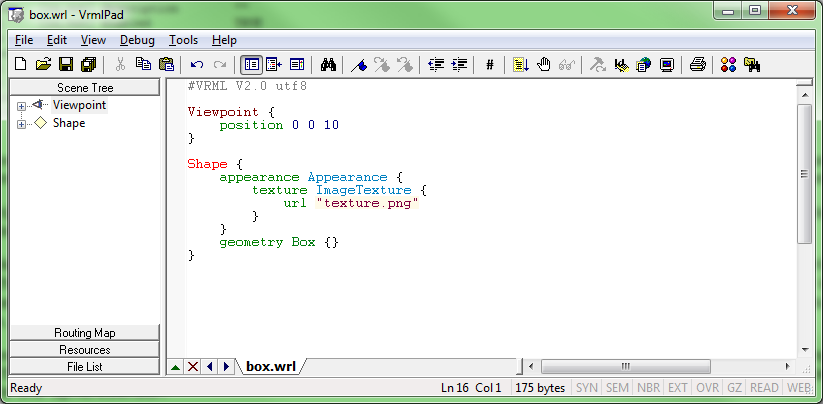
If you install VrmlPad out of the box, it also doesn't know anything about Instant Reality specific nodes such as e.g. the BlendMode or node extensions like the "sortKey" field of the Appearance node. But you can easily tell VrmlPad about their existence by providing an additional Proto VRML file that contains all prototypes Instant Reality provides. When having installed Instant Player, this file can be found in Instant Player/Resources/systemProto.wrl.
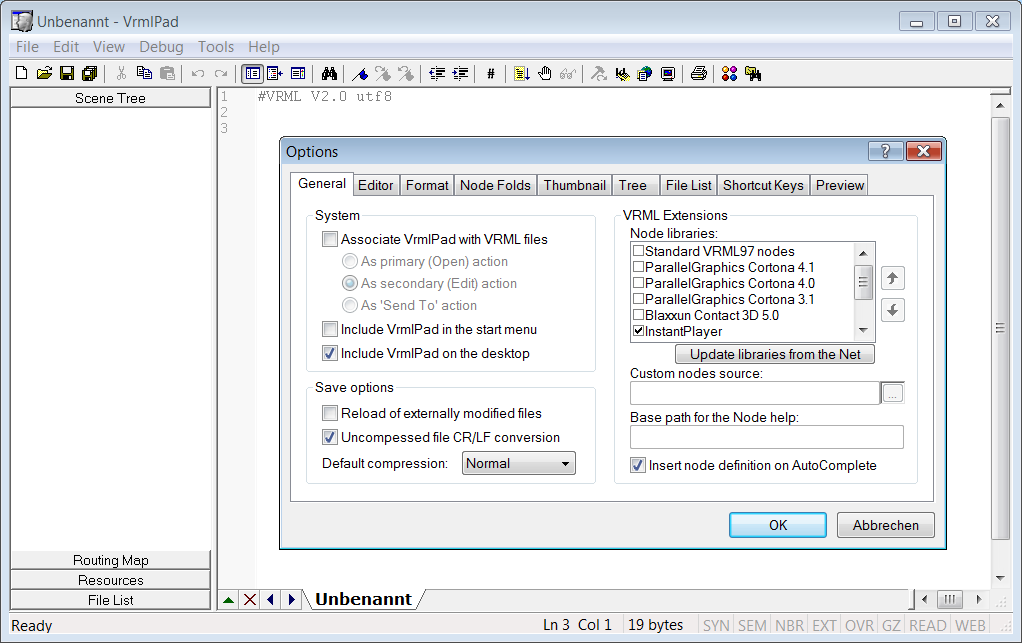
Now simply copy systemProto.wrl to ParallelGraphics/VrmlPad/Nodes. For ease of use, it is advisable to rename the proto file to something more meaningful such as InstantPlayer. Then start VrmlPad and go to "Tools/Options". In the tab "General" in the "VRML Extensions" pane you see the different node libraries as shown in the next screenshot. Here, you should first deactivate "Standard VRML 97 nodes", because they have priority over node extensions, which prevents the editor from knowing about additional fields such as the aforementioned "sortKey". Then simply activate "InstantPlayer" instead (the name directly corresponds to the names of the proto files provided), click on OK and restart VrmlPad for having nice syntax highlighting, code completion etc.
Another useful option you should activate if you like working with a shell is the "Start-up folder". Here choose "Folder" and type "." (for the current directory) into the text edit field. And if you often work with big files, in "Node Folds" you can additionally choose, which node types shall be collapsed on start-up. This is often useful for e.g. Coordinate or Interpolator nodes. Furthermore, the tool allows downloading complete VRML worlds including all Inline references. That's all, except for a last hint: please note that depending of the version of VrmlPad the previously explained way to teach VrmlPad new nodes might differ a bit.
Comments
This tutorial has no comments.
Add a new comment
Due to excessive spamming we have disabled the comment functionality for tutorials. Please use our forum to post any questions.